Flashing MicoAir743v2 from PX4 to Betaflight
This doc walks you through a safe way to re-flash the MicoAir743v2 flight controller between PX4 and Betaflight via DFU/bootloader.
How to flash from Betaflight to PX4
This guide is ONLY for the MicoAir743v2 flight controller.
If you’ve got a Pixracer / COEX Pix / Pixhawk, use the Pixracer PX4 flashing guide instead:
PX4 firmware on Pixracer
MicoAir743v2 flight controller
Contents
Software & firmware links
- Betaflight Configurator (official releases): github.com/betaflight/betaflight-configurator/releases
- STM32CubeProgrammer (Google Drive): drive.google.com (STM32CubeProgrammer)
- Betaflight firmware for MicoAir743v2: drive.google.com (Betaflight firmware)
Entering DFU / bootloader mode
- Hold the BOOT button on the FC.
- While holding BOOT, plug the USB cable into your PC.
- Your system should detect it as DFU / STM32 Bootloader.
Flashing PX4 to Betaflight
Programmer setup (STM32CubeProgrammer)
Before flashing, download and install STM32CubeProgrammer.
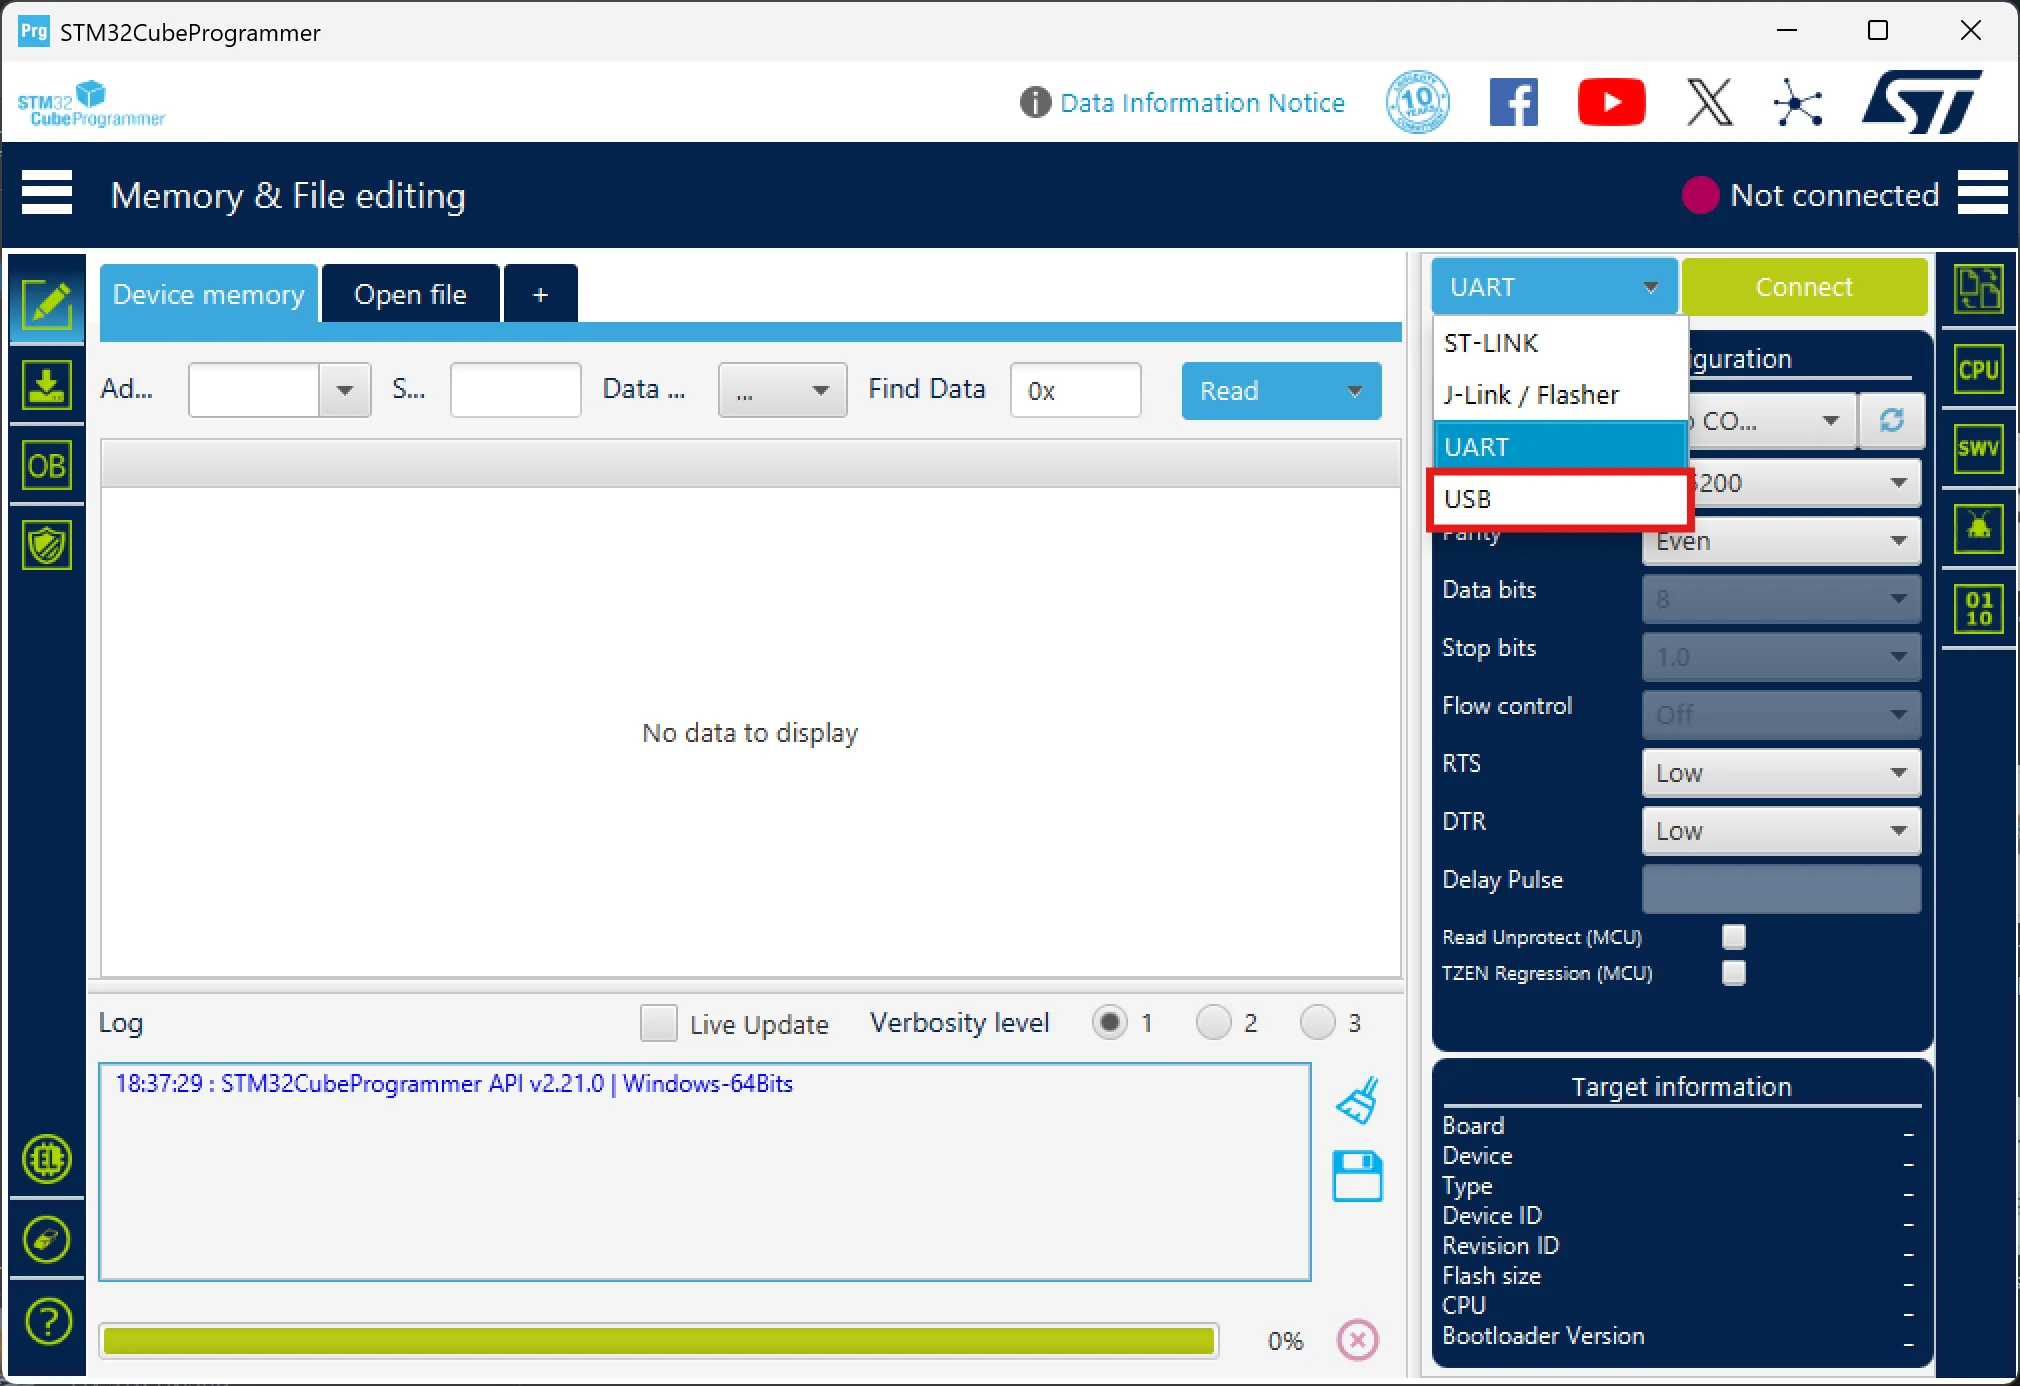
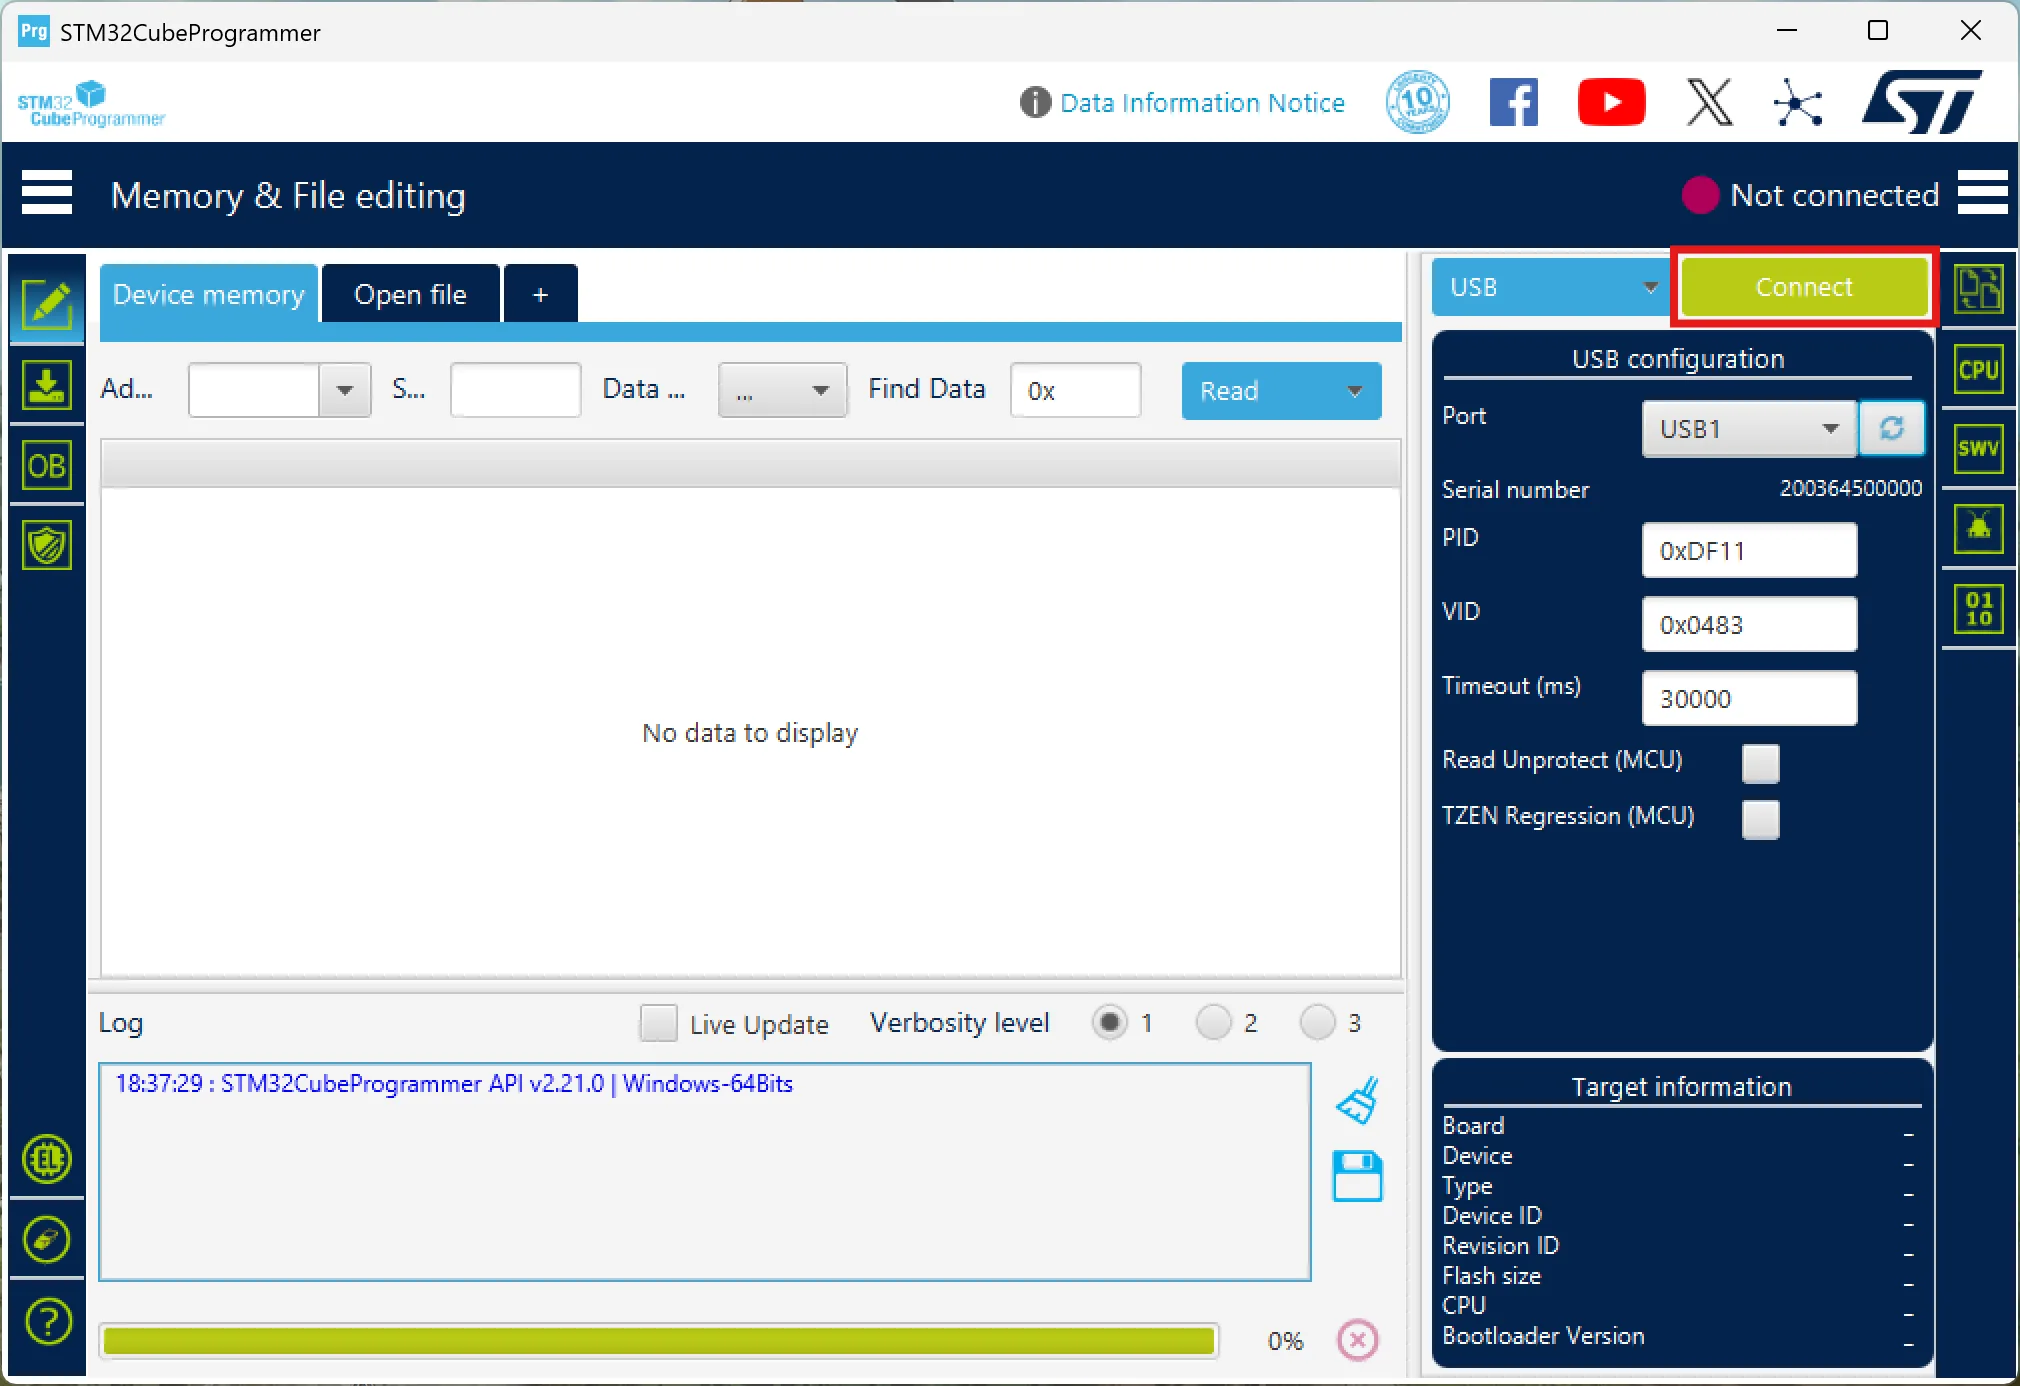
Put the flight controller into DFU (hold BOOT and plug it in via USB). Open STM32CubeProgrammer and click the connection protocol selector (UART).
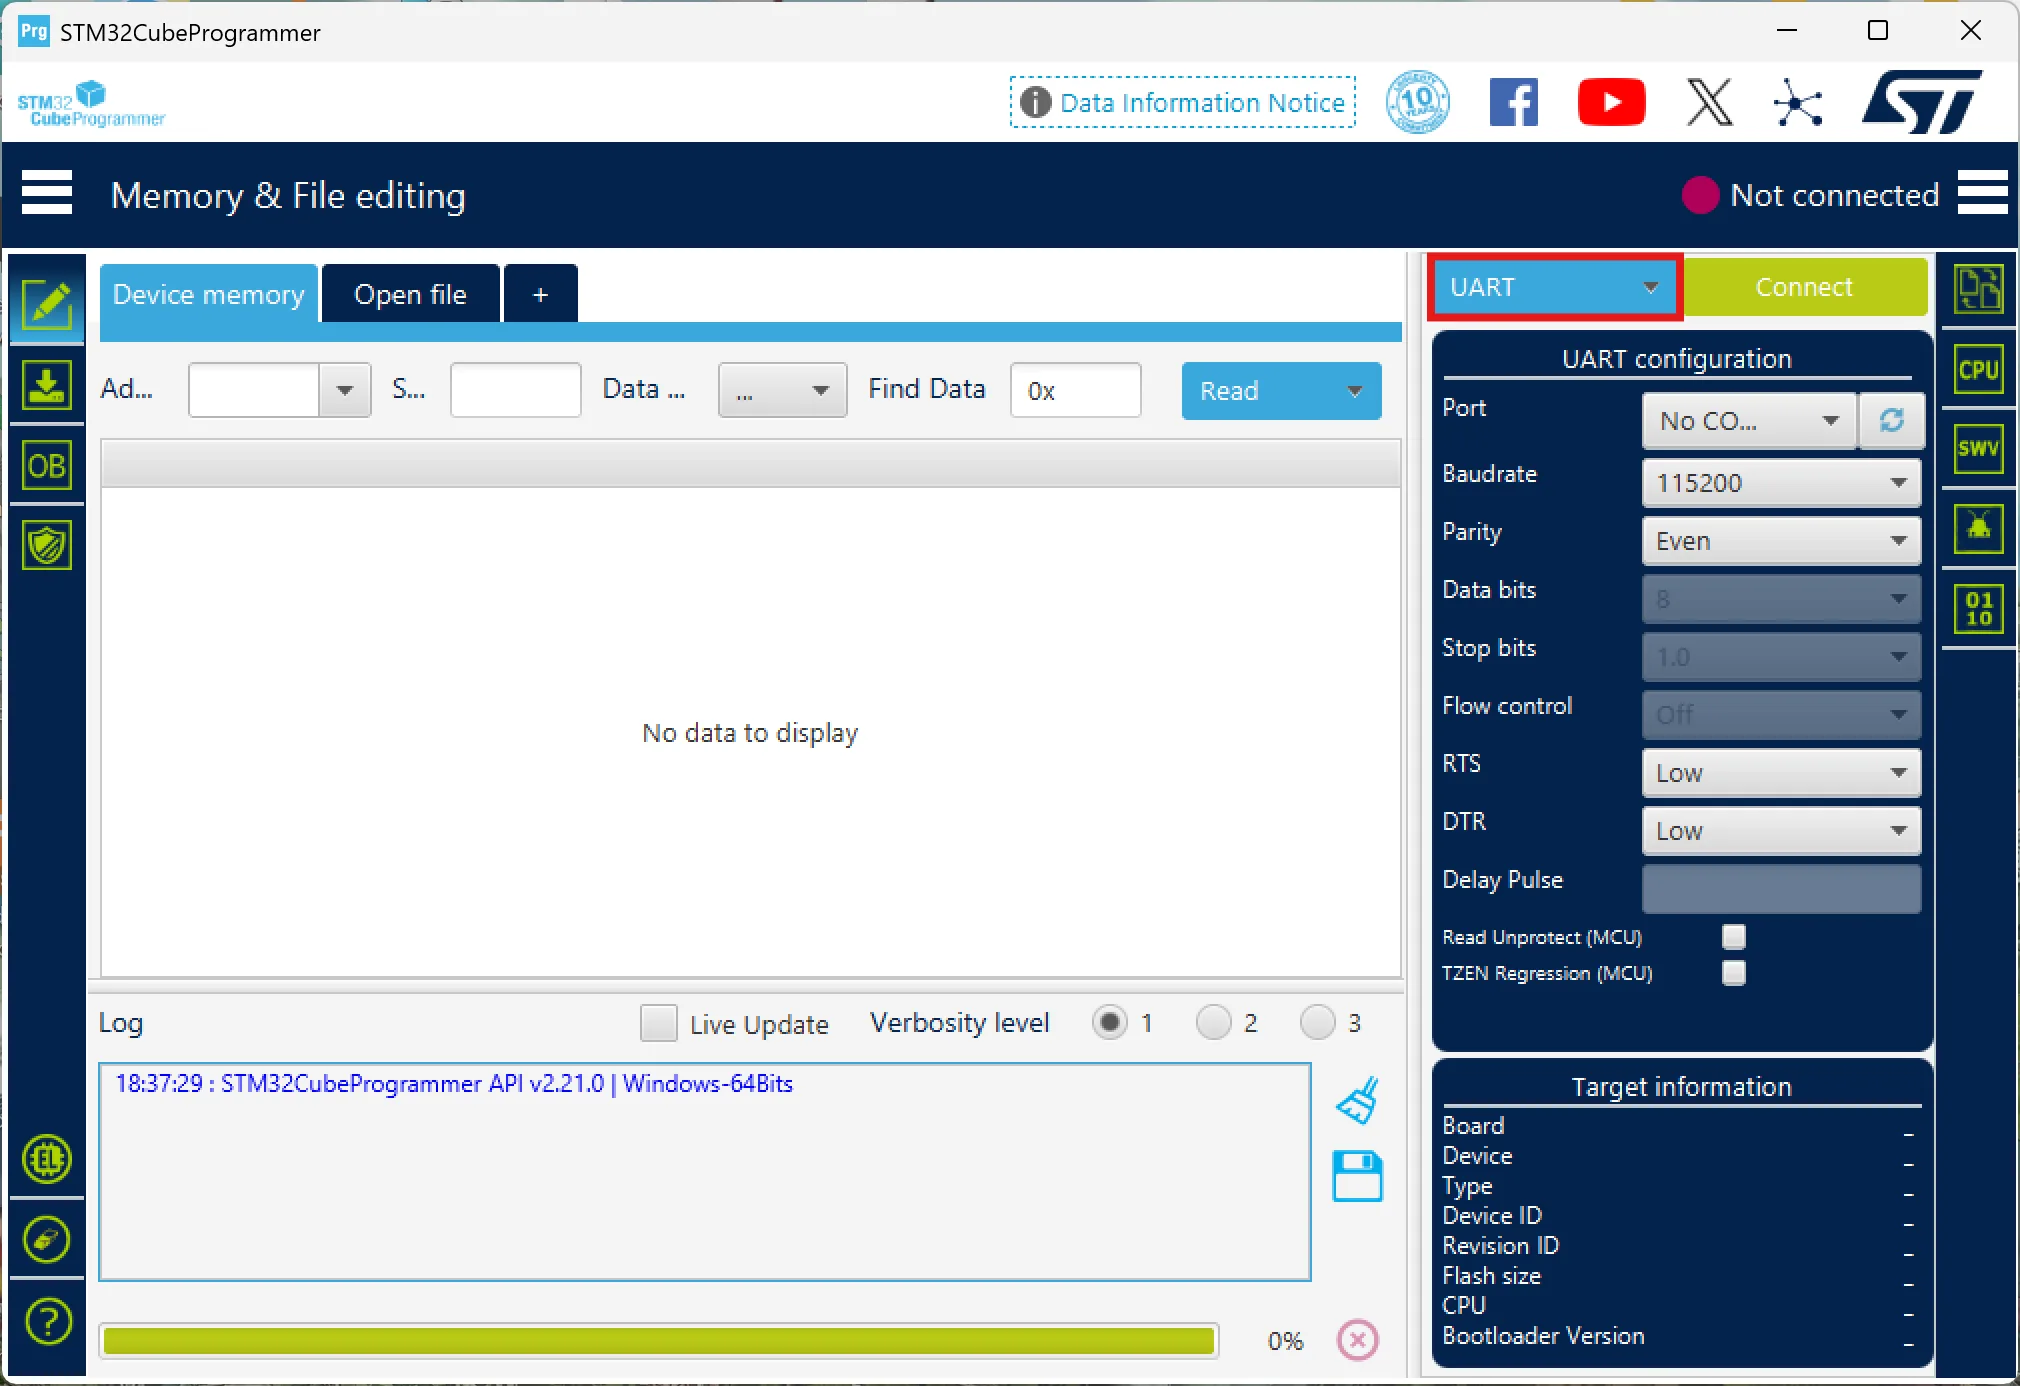
Select the USB protocol.
Refresh ports (click the button to the right of the port selector). It should auto-pick the right one.
If it doesn’t, the FC is not in DFU mode — redo step 1.
Click "Connect".
Do a full wipe: click the eraser icon in the bottom-left, confirm in the popup, and wait until it’s done.

Click Open file and select
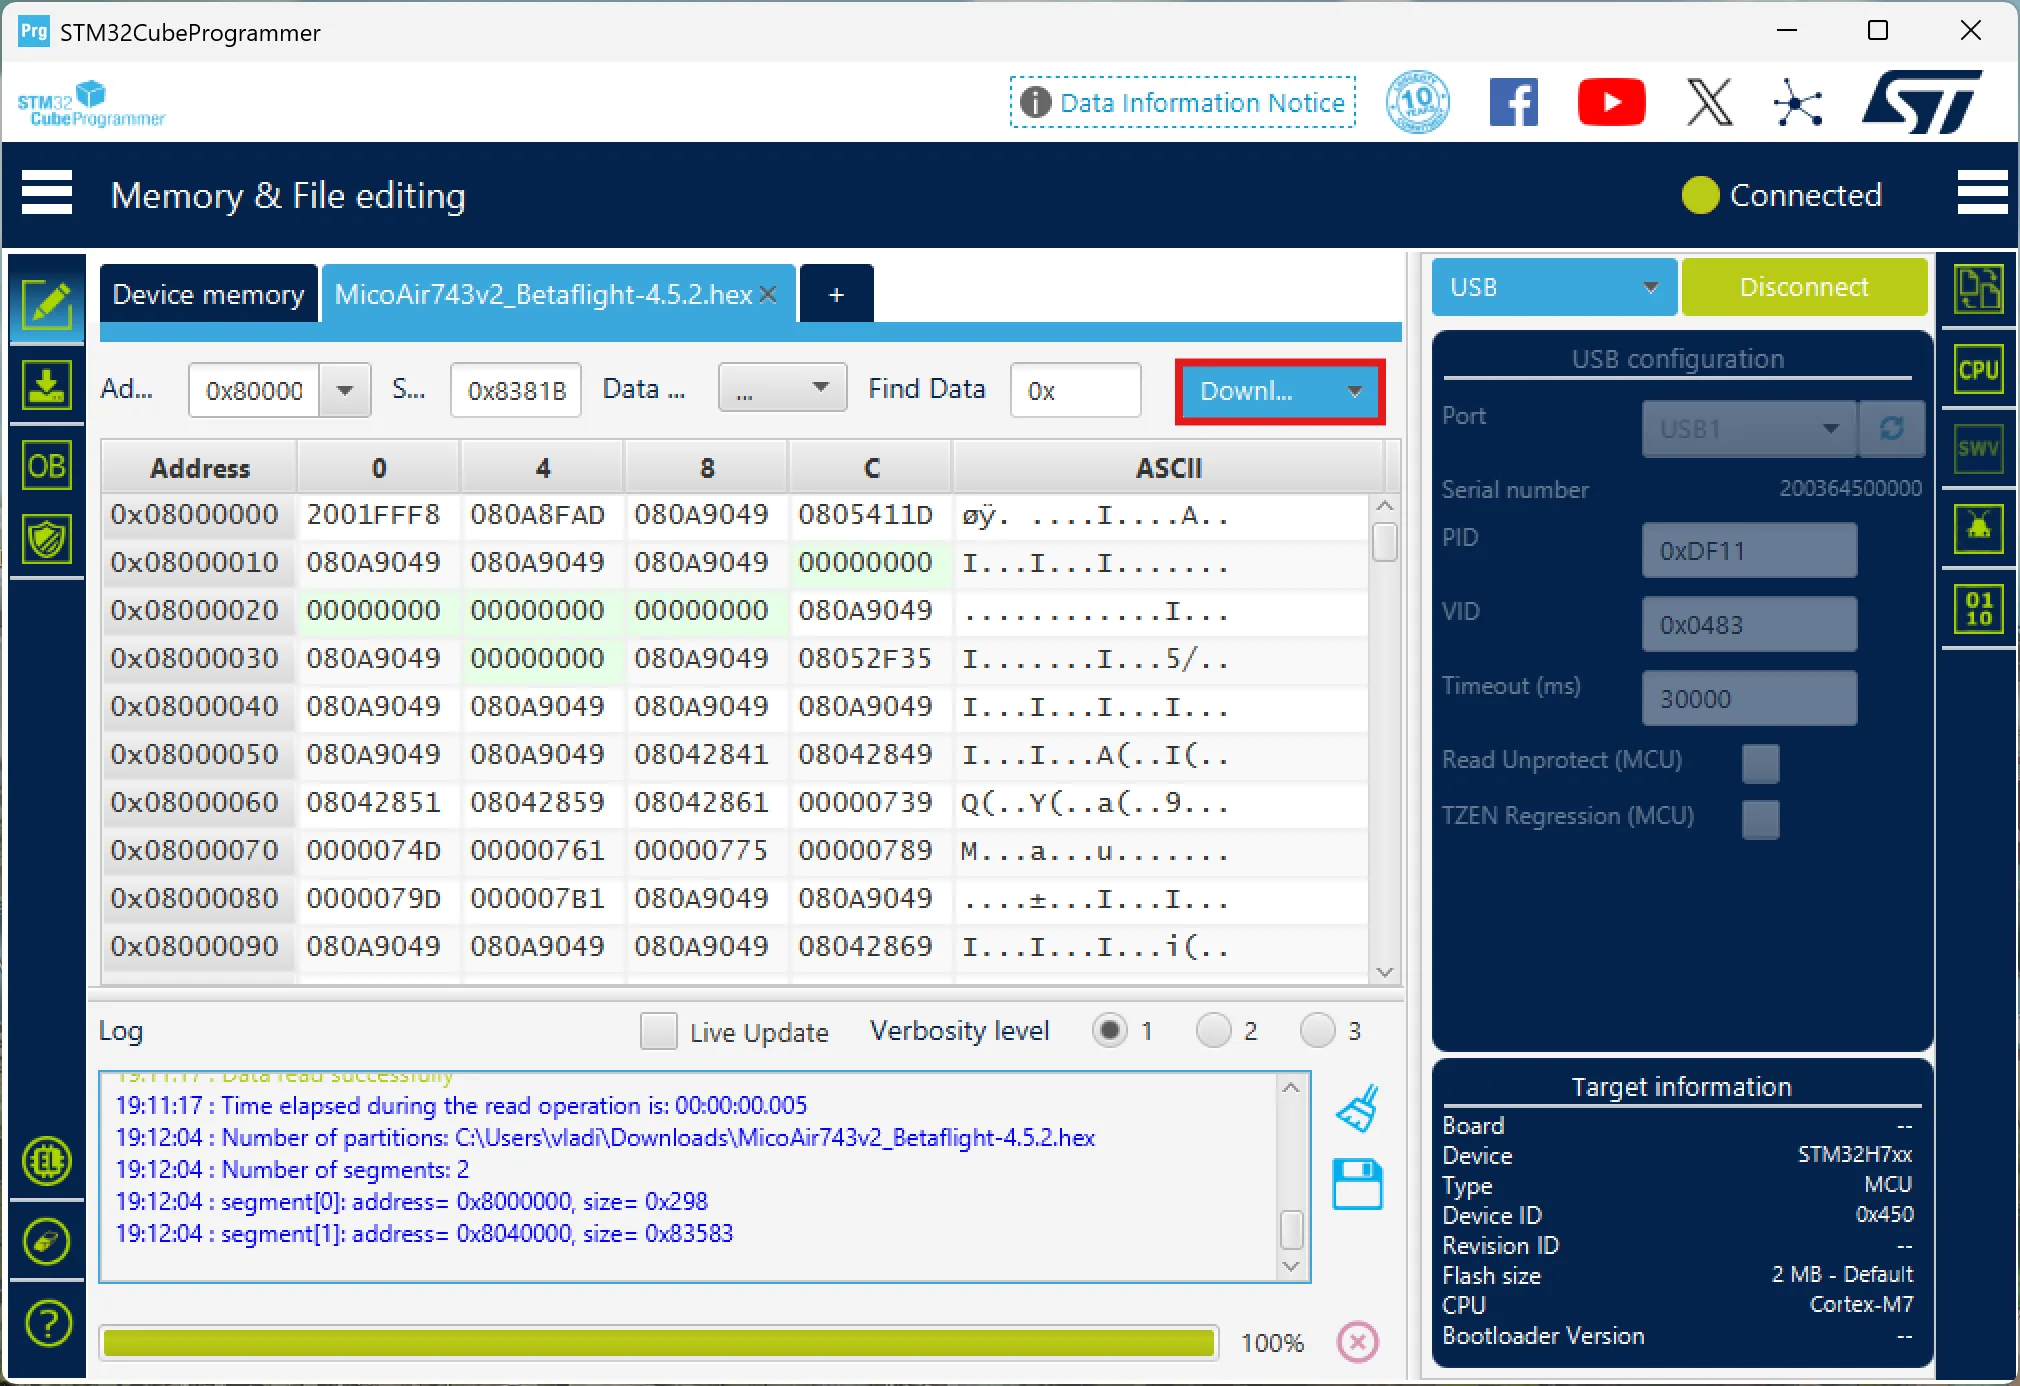
MicoAir743v2_Betaflight-4.5.2.hex.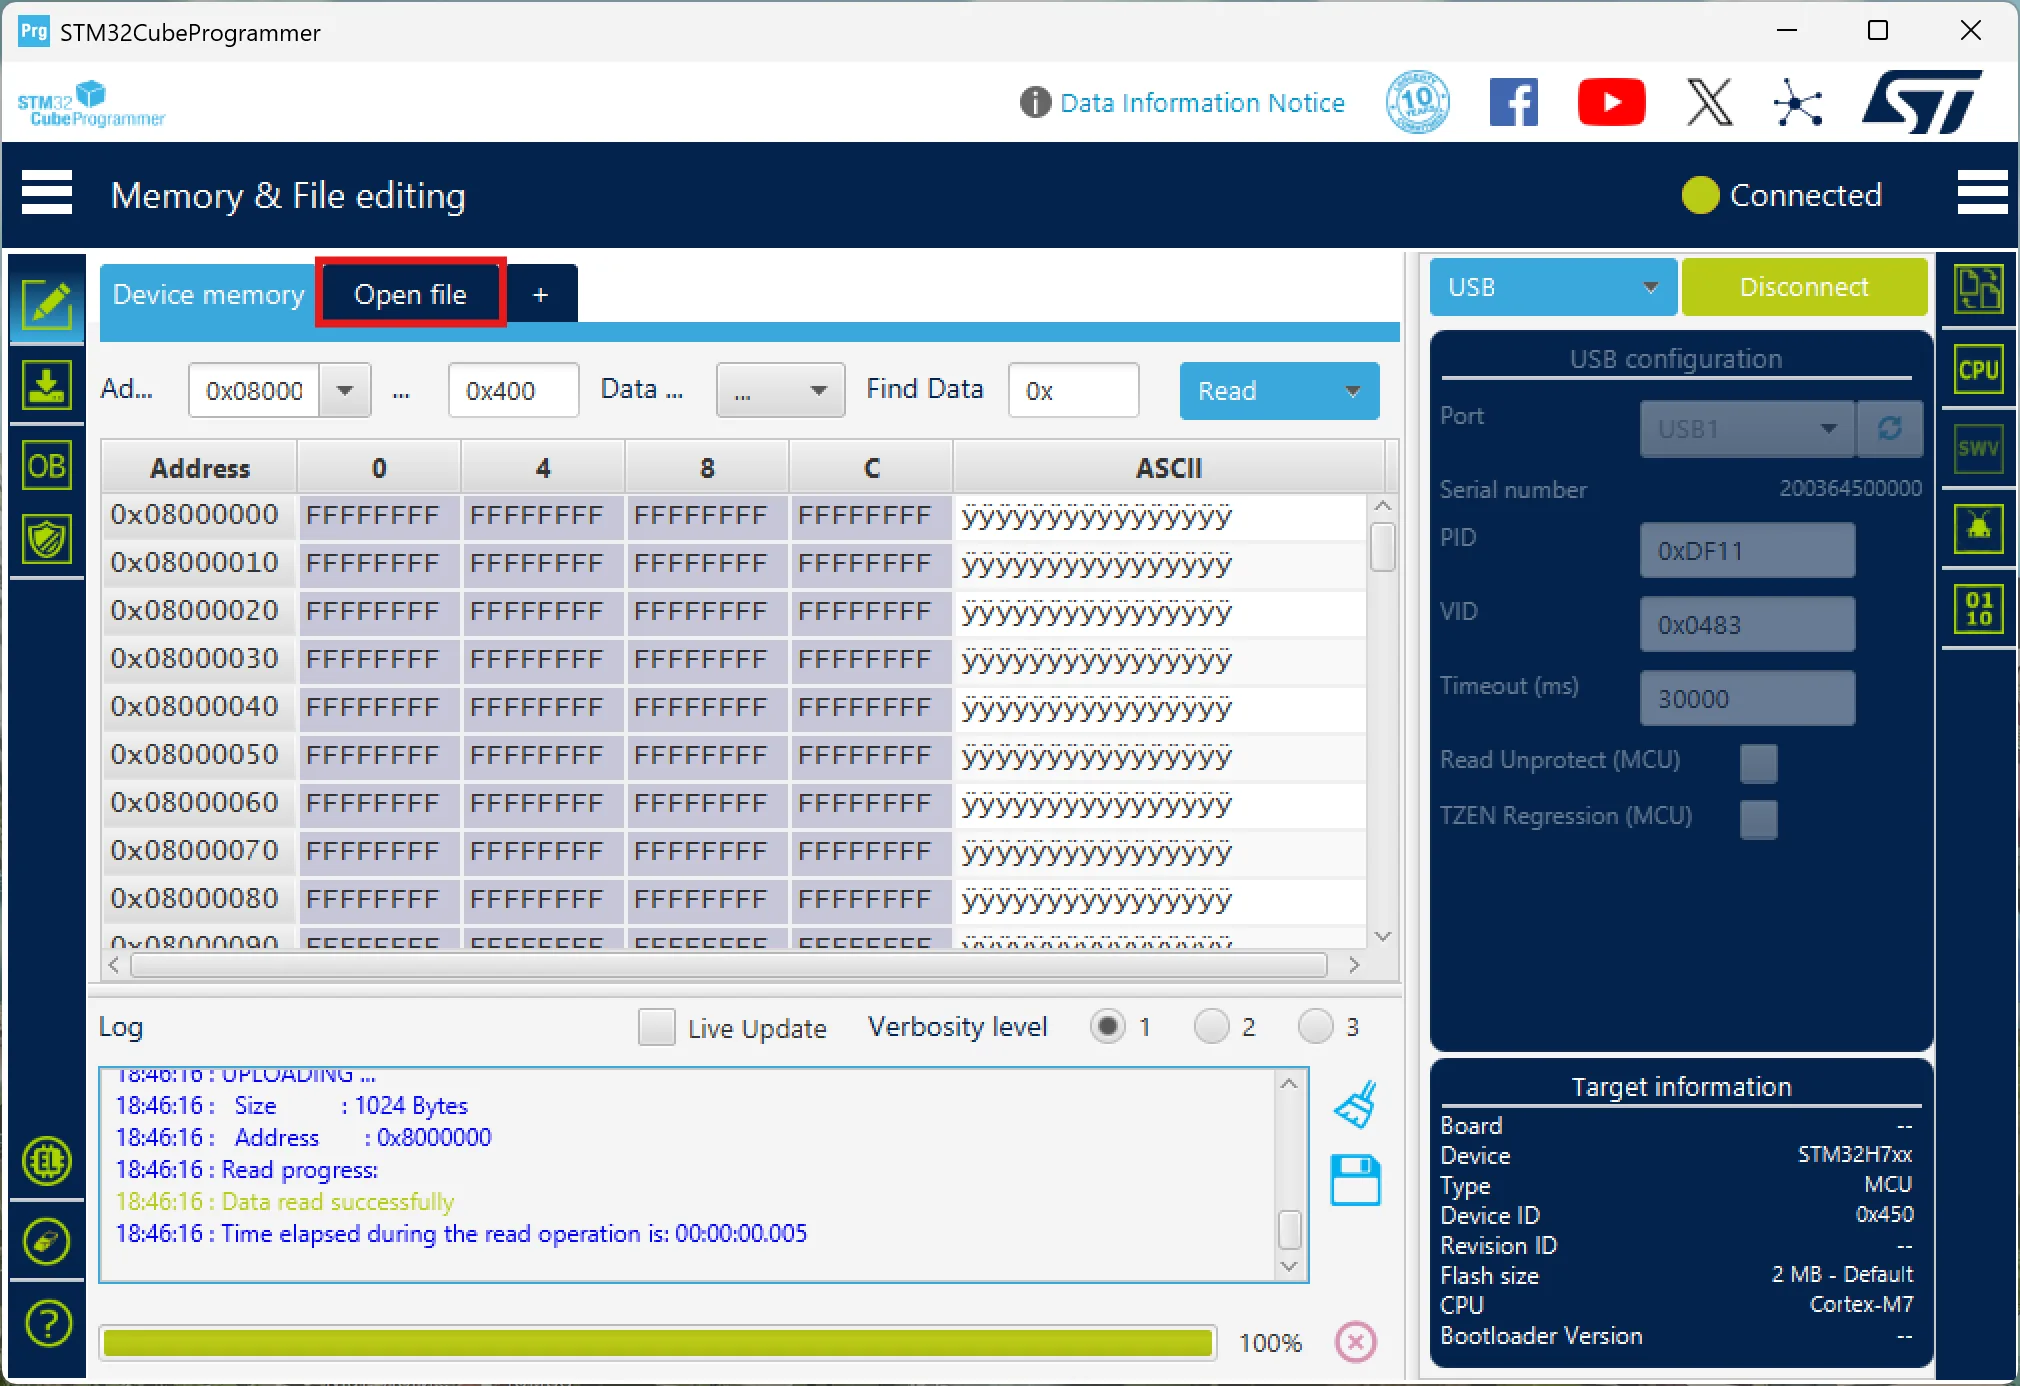
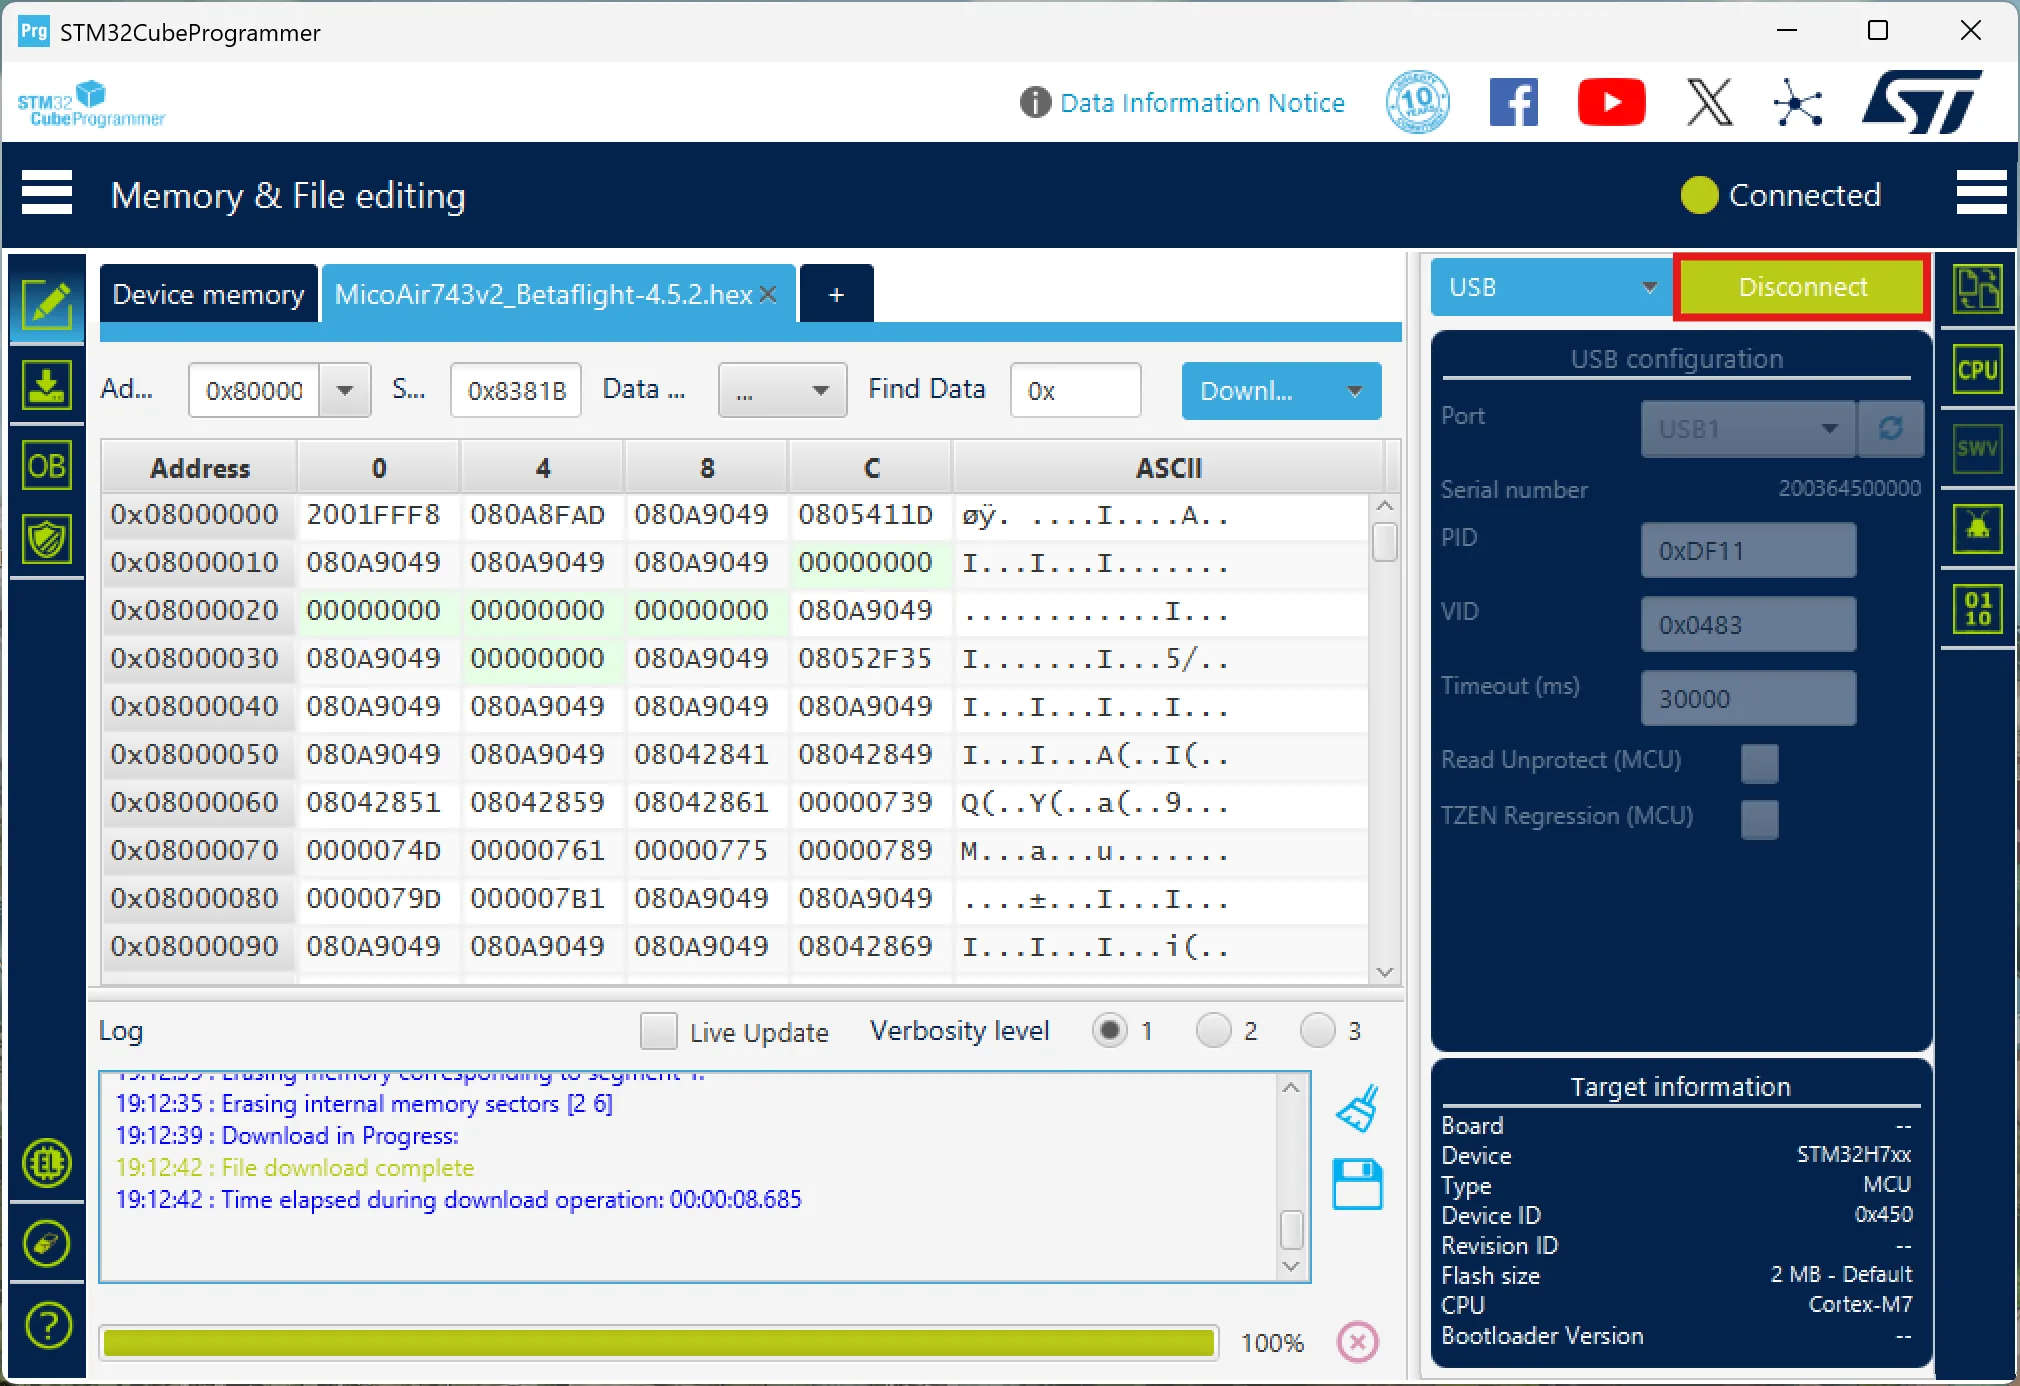
Click "Download" to flash the firmware and wait until it finishes.
Click "Disconnect".
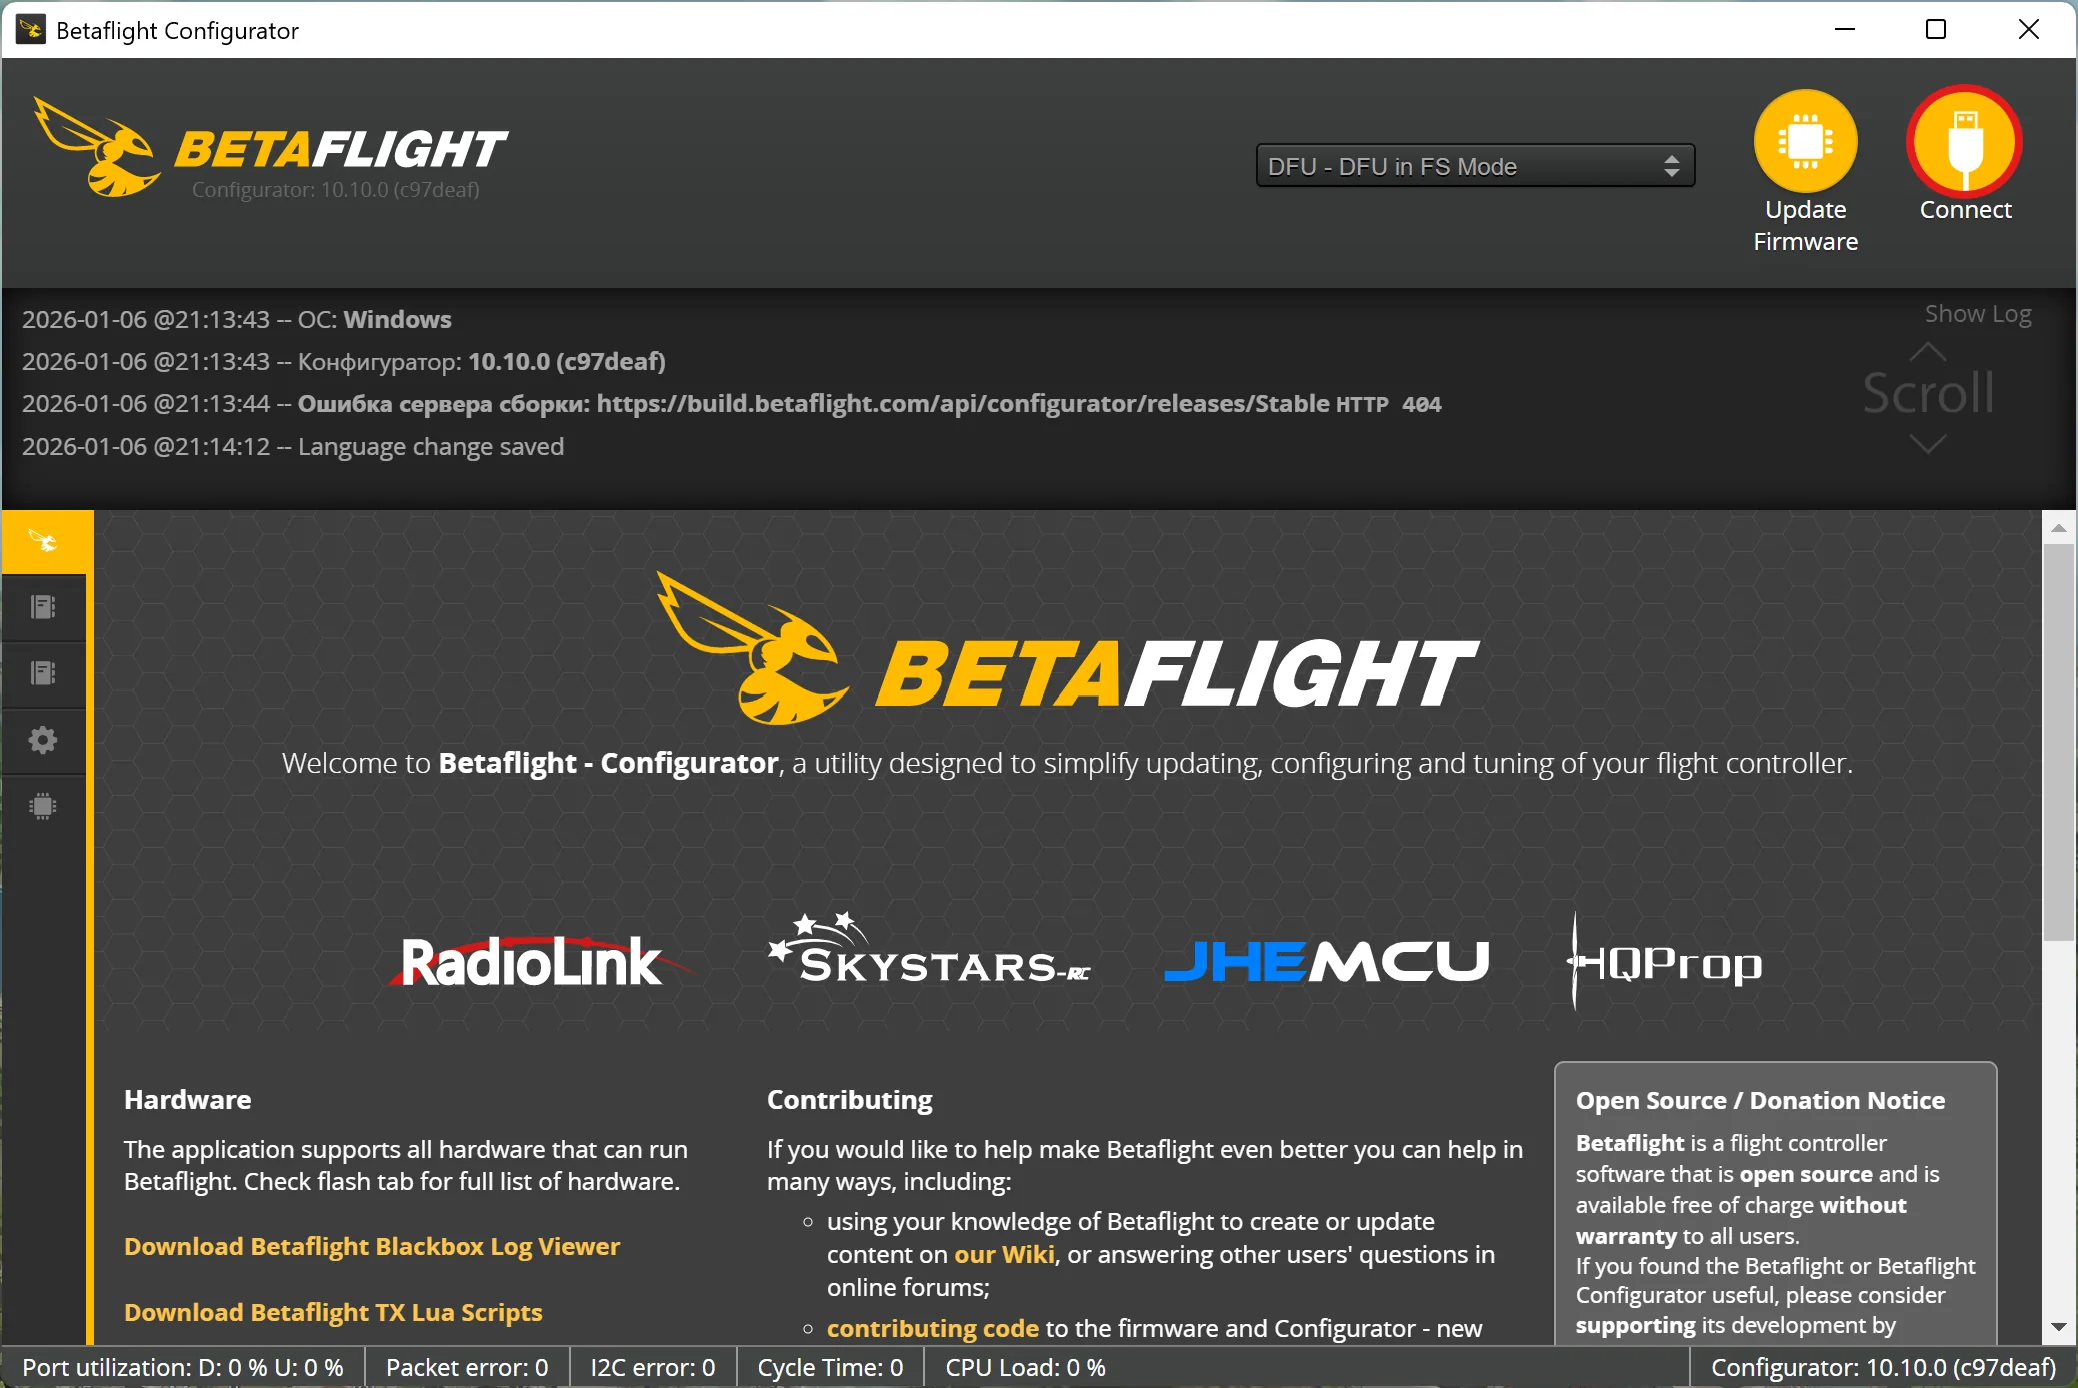
Open Betaflight Configurator and start setting things up.